
 You know what cheap white counter tops are made out of? Its covered in whatever that is. :) I didn't want to just paint it because I didn't like the surface and texture of the bench. So I decided to try applying paintable wall paper to it. First, I measured the bench and cut strips of wall paper to fit. since I had 4 legs with 4 sides each, I cut one piece and used it as a template to do the remaining 15 pieces.
 Then I primed the bench so the wall paper would stick. After that, I just followed the instructions of the wall paper and cover the bench. It only took me a few minutes to do the wall paper.
 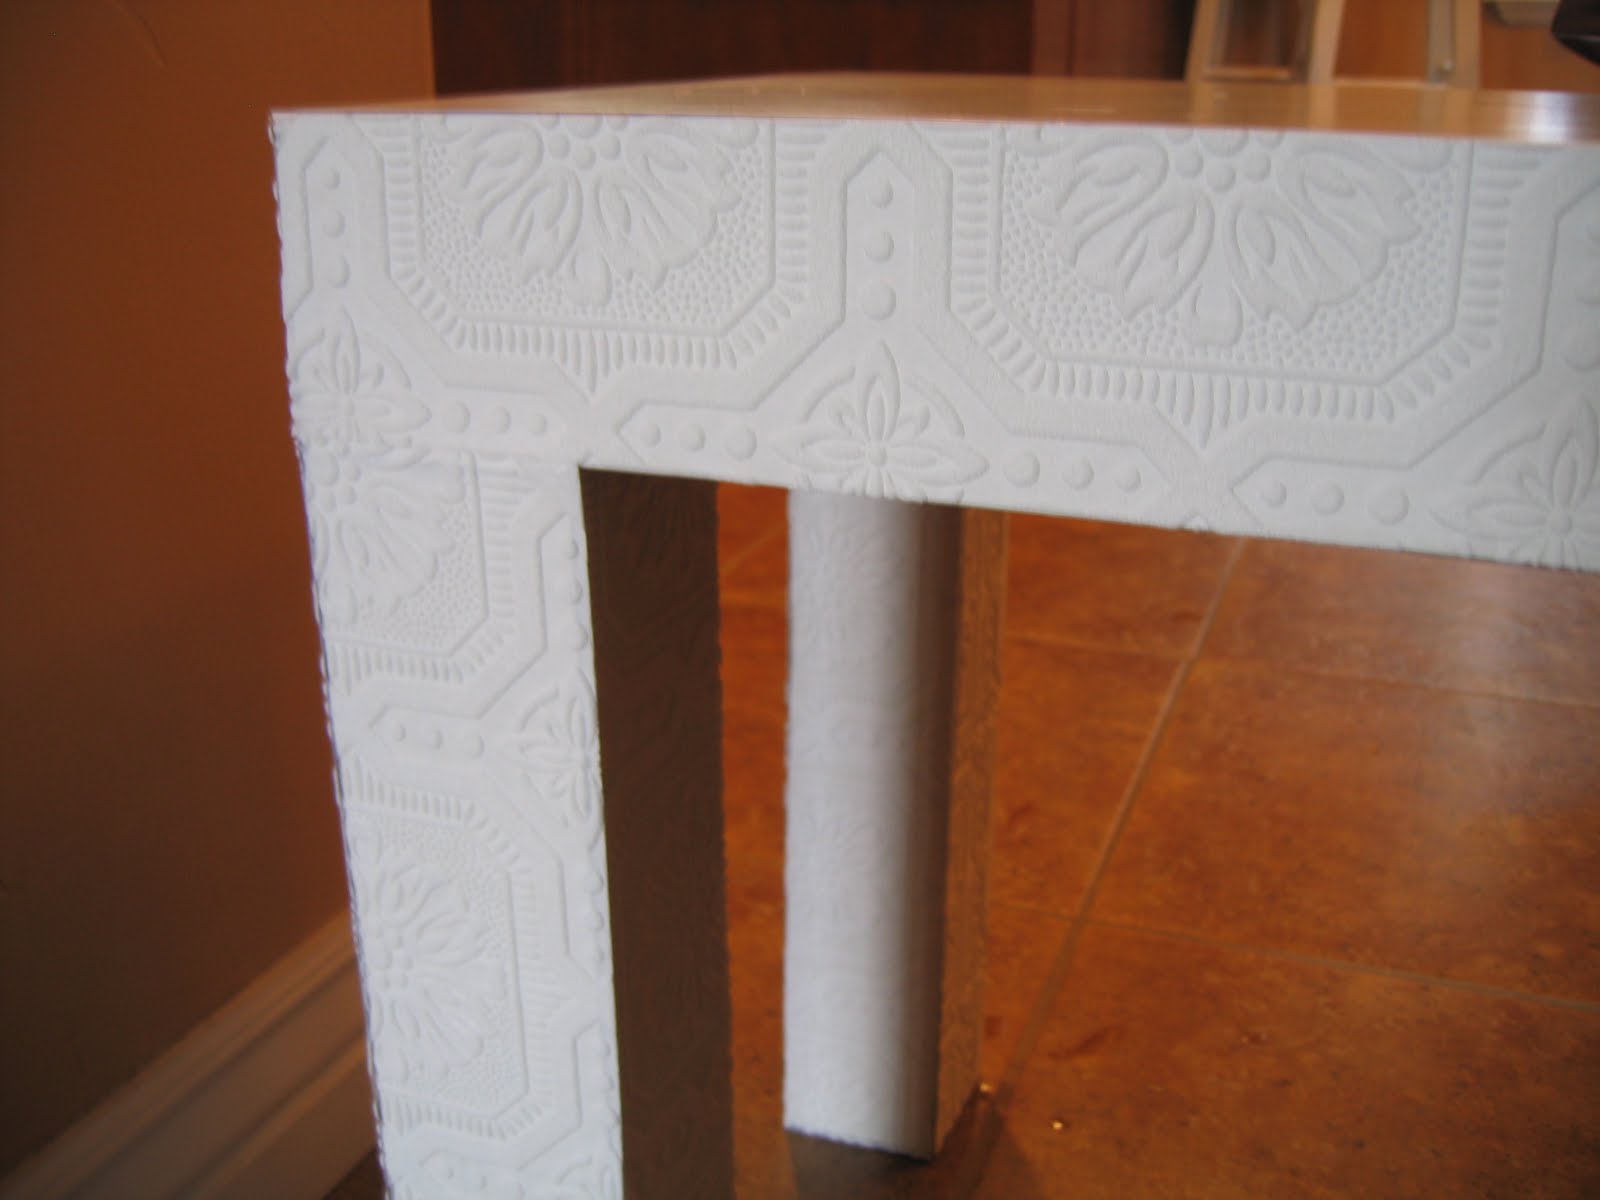 After the wall paper dried, I applied 2 coats of white trim paint. I used the brush to apply a lot of paint on each seam and then wiped off the excess. I plan on putting a foam pad on top with left over fabric from Avery's bedding. But for now, its in her room like this. I already had the wall paper, the primer, and the paint- so this project cost me FIVE BUCKS! yay:)

Here is how the rest of the nursery turned out ~
 -Made the bedding for less than $60. Hit a big sale at JoAnn's for all the fabric. I still have a TON left over.
 Baskets from the dollar store...And my lace lamp.
 Simple wall art- stuck lace to the wall with a glue stick, stapled a fake daisy to the wall (yes I said staple- haha), and hung a plain black frame around it with no glass.


